Designing a project
Preparing the program for loading into microcontroller can boil down to few basic steps:
1. Designing a project
2. Writing the program
3. Converting to zero-one code comprehensible by microcontroller, i.e. compiling.
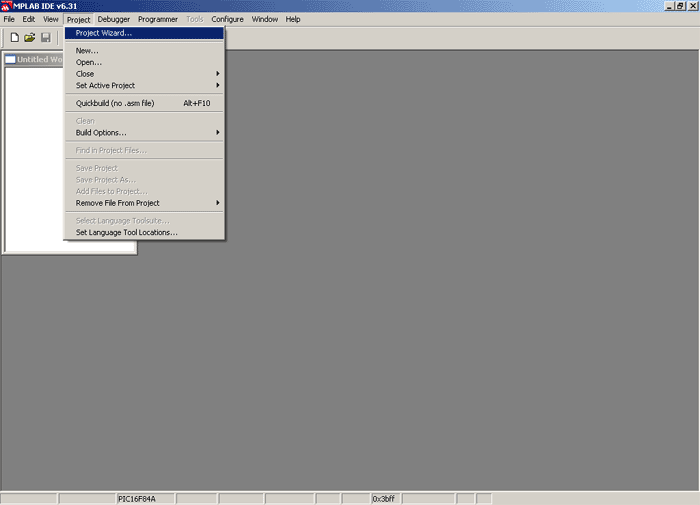
Opening a new project
To create a project, click on the option PROJECT and the click on PROJECT WIZARD, which will open the following window..
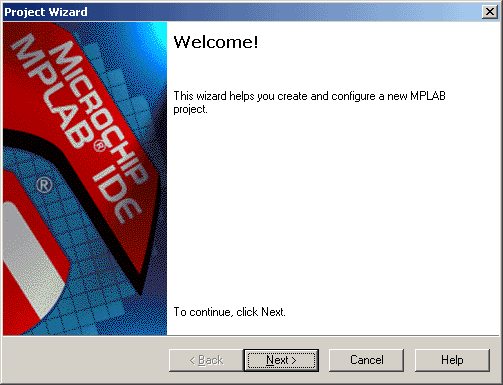
Creating a new project
Click on NEXT to continue. Next thing to do is to choose the appropriate microcontroller. In our case, it is PIC16F84A.
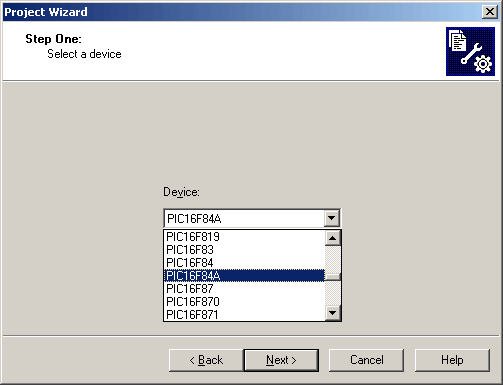
Choosing the appropriate microcontroller
Next step is defining the program language to be used. In our case it is Assembler, so we will select that option as shown on the image below.
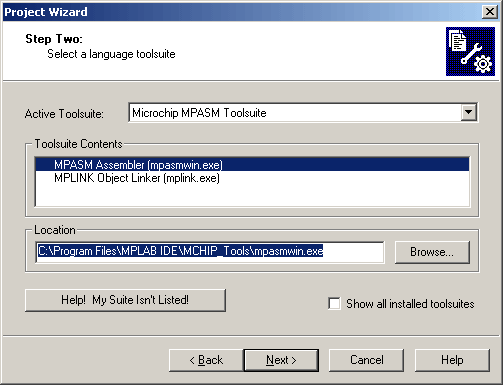
Selecting a language toolsuite
All that is left is to name our project. The name should reflect the purpose and content of the program. Project can be stored in any folder according to your needs. It is a good thing to have that folder remind you of PIC microcontrollers; we named the folder simply PIC in the image below.
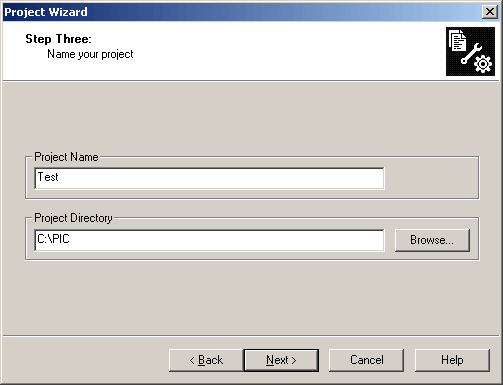
Naming the project
Upon naming the project, click on NEXT to open the summary window.
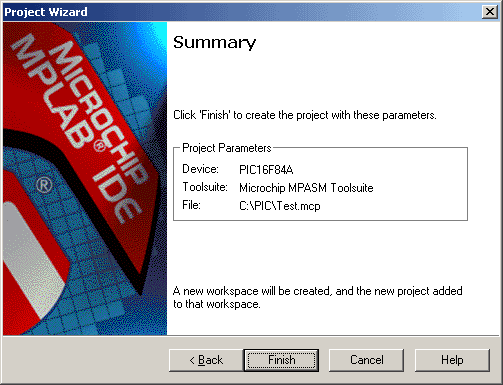
Summary containing the defined parameters
Click on FINISH to create the project. The summary window contains the project parameters.
User Comments
No Posts found !Login to Post a Comment.